
Learn how to make Sourdough starter from scratch with just 2 ingredients! All you need is some flour, water, and about one week to start whipping up recipes with your sourdough starter!

Watch me grow my starter on TikTok
Some of you may think, “Oh my goodness, another thing I need to keep alive.” Well….yes, that is true! But it’s not as hard or time-consuming as you might think.
When I have my sourdough starter on hand, I know I can quickly whip up many recipes that use active sourdough or even the discard. It has gotten to a point where I don’t think about it. It is something that has become a part of my day. I can quickly whip up something like pancakes for breakfast or pizza for dinner- using a sourdough starter. Not only does it add a depth of flavor to your food, but also you will be feeding wholesome and nutritious foods to your family!
I am here to tell you sourdough isn’t hard!
If you have a little bit of time and a little bit of patience, you will have the most nutritious food at hand! Once you have an established sourdough starter- you can start baking the best homemade bread you will ever have!

WHAT IS SOURDOUGH?
To better understand what sourdough is, let’s talk about yeast. A sourdough starter is a mixture of flour and water that has cultivated wild yeast and bacteria from the environment. Yeast is a fungus, and it’s all around us. It floats through the air, it’s living in our bodies, and it’s in a lot of the food that we eat. Traditionally, bread is made in two different forms: commercially made yeast or with a sourdough starter. You are most likely familiar with commercially produced yeast, it’s sold dry. It’s cultivated in a lab to specifically work fast to leaven (rise) our bread.
IS SOURDOUGH HEALTHIER THAN YEAST?
Now that we understand what yeast is, let’s dive into what is sourdough? and why is it healthier than yeast? Sourdough starter consists of 3 things. Flour, water, and organisms. Sourdough bread is made by fermentation, it’s naturally leavened bread which means it doesn’t use commercial yeast to rise. Instead, it uses a ‘starter’ – a fermented flour and water mixture that contains wild yeast and good bacteria – to rise.
This produces the tangy flavor and slightly chewy texture you’ll find in sourdough. Wild yeast has more flavor than commercial yeast, Sourdough is natural in the sense that it doesn’t contain any additives, also it helps to break down the anti-nutrients for better absorption.
AS AN AMAZON ASSOCIATE, THIS POST MAY CONTAIN AFFILIATE LINKS. THIS WILL NOT CHANGE YOUR PRICE, BUT WE WILL SHARE A SMALL COMMISSION WITH OUR FAMILY.

Ingredients
- Unbleached bread flour – I recommend King Arthur
- Spring water- I use Ozarka
Tools you may need
- Wooden spoon
- jar with a loose-fitting lid
- food scale (for accuracy)
- Rubber band
Tip’s
- Don’t tighten the lid to tightly, you just want the lid to sit on top to make sure the mixture doesn’t get dry. But you also want air to circulate through it. It’s important for the starter to “breath”
- Keep your home warm for your sourdough starter, as it thrives in higher temperatures. I use a heating pad to maintain warmth, since cold slows fermentation.
- Pick morning OR night to feed your starter. For example, I feed mine every morning at 8 am.
- Do not use all-purpose flour to feed your sourdough starter
- Use spring water!
The process for homemade sourdough starter
The process is very simple so let’s get started!
Day 1
Add 50 grams of spring water and 50 of grams unbleached bread flour to a clean jar. Mix very well to ensure there are no pockets of dry flour. Loosely cover the jar with a lid and let it sit for 24 hours.
You will need a jar with room for the starter to grow.
Day 2:
To prepare the sourdough starter, begin by transferring 50g of your existing starter into a clean jar. Next, add 100g of water and 100g of flour to the jar. Mix the ingredients thoroughly. Then, loosely cover the jar with a lid and let it ferment for 24 hours. This process allows the yeast and bacteria to develop in the new flour and water mixture. You may notice a yellow liquid forming on top or at the bottom of the jar; this is normal and should not be drained. Just leave it as is.
You will discard the other 50g grams of starter. You can compost it, but do not put it down your drain; it might clog your pipes.

What is the reason for discarding half the mixture?
If you add 100g of flour and 100g of water every day without discarding, by day 7, your jar will be overflowing with starter. Also, for the starter to get stronger, it needs the correct ratio of starter to fresh flour and water: 1:2:2. Sourdough starter feeds on the fresh flour and water you add daily. Basically, you would end up with a lot of extra starter by the end of the process, and none of it would mature.
Day 3
Mix the starter, then take 50g into a clean jar. To it, add 100g water and 100g flour. Mix very well, then loosely close with a lid and let it ferment for 24 hours.
Discard the rest of the starter. This is called “sourdough discard.”
Day 4
Mix the starter then measure out 50g into a clean jar. Add 100g of water and 100g of flour to the jar, and mix everything together very well. Loosely cover the jar with a lid. Use a rubber band to mark the level of the starter right after feeding it, so you can monitor its growth. The sourdough starter should rise by 20% to 35%.

Day 5
Repeat the same process as days 2-4

Day 6
If your starter hasn’t doubled in size yet, don’t worry! You’re not doing anything wrong. Sometimes, it just needs a little extra time, and that’s completely normal. During one of your feedings, try adding one tablespoon of whole wheat flour; this will give it an extra boost! Continue feeding it every 24 hours until it doubles in size. Once it has doubled, you can proceed to the Day 6 instructions.
Feed every 12 hours.
For example, at 8 a.m., we do your regular discard and feed, then wait for it to double, then at 8 p.m., discard and feed. The sourdough starter should double in size after each feeding
Your sourdough should now be stabilizing, doubling or tripling in size after a feeding.
Day 7
Feed every 12 hours.
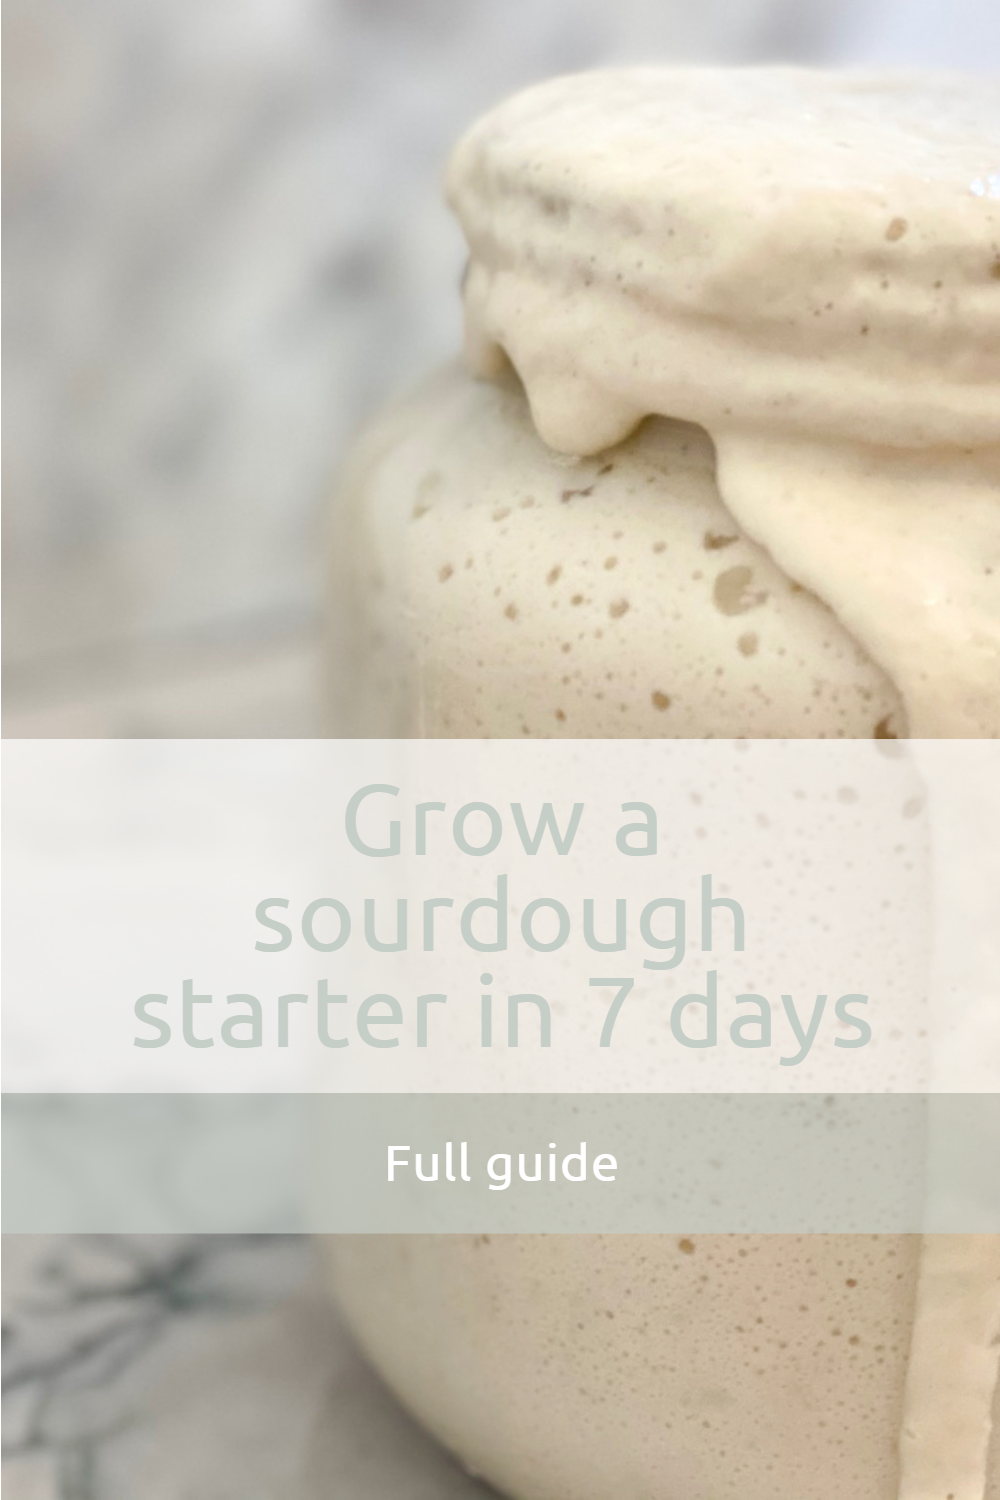
By day 7 your sourdough should have plenty of beneficial bacteria present that makes a sourdough bread rise! Your starter should be very active and bubbly. when you look closely you can almost see it “breath”
Your sourdough starter is mature and ready to bake with in just a few days! I would love to ensure it is healthy enough to rise a loaf. Repeat day 7 for 2-3 more days, and then you can start putting it in the fridge.
After today, you no longer need to discard half every day. You can go back to feeding it once a day or if you keep it in the fridge, you can feed it every 3-7 days.

We did it! we grew our very own sourdough starter from scratch! This was a fun journey. Its so mesmerizing to me that water and flour can make this! Just look how beautiful she is! it took you a week to grow her. This is your baby, don’t forget to feed it. The more often you feed your sourdough starter the stronger it will become. I feed mine once a day.
ACTIVE SOURDOUGH STARTER
Active sourdough is a starter that has been fed and allowed to rise for use in a sourdough recipe. It is also known as “fed sourdough starter” or “leavened.”
What is sourdough discard
Discard is the portion of the sourdough starter that is discarded when it is fed or refreshed. This discarded portion of the starter is not active. To avoid food waste, it can be used in Sourdough discard recipes instead of being thrown away.
Maintaining your sourdough starter
Once your sourdough starter is established, it requires regular maintenance to remain happy and active. Like anything in life, if you don’t feed it, it will weaken over time and may ultimately die. The live bacteria in your sourdough feed on the fresh flour and water you provide. The best approach is to feed your starter and then place it in the fridge, as the cold slows down the fermentation process.
If you keep your sourdough starter on the countertop, you will need to feed it every day, as the bacteria consume the flour and water quickly at room temperature. However, if you don’t plan to use it daily, I recommend storing it in the fridge between uses. This way, you won’t have to bake or cook with it every day. If you continue to feed it without using it, your sourdough starter can accumulate, leading to an excess amount.

This darkish liquid is called Hooch. It looks as if the water separated from the flour. Hooch forms when the starter hasn’t been fed in a while. This is its way of telling you its hungry! It’s speaking to you in its own universal way. It is alive after all! Do not worry, this does not mean it is bad. Just feed it as normal.
What is the liquid in my sourdough starter?
What if my sourdough starter is bubbling, but not rising?
If this occurs a few hours after feeding, the mixture may be too wet or runny. The consistency can vary depending on home humidity and the type of flour you use. To fix this, simply add a few tablespoons of flour at a time. Mix it well, and it should rise within a few hours.
PREPARING FOR A FEEDING
If you kept your starter in the fridge, and you need to feed it again for a recipe. Allow it to come to room temperature before you feed it. Avoiding the cold, will help with a quicker rise.
Timing
Before using your sourdough starter for a recipe, take it out of the fridge at least 5 hours in advance and feed it. Each sourdough starter has a different rising time, which can vary based on factors like the temperature of your home and the amount of water and flour used for feeding. For instance, in my home, where the temperature is set to 65°F, my sourdough starter takes about 5-6 hours to rise after being taken out of the fridge. If I have kept my starter on the countertop and then feed it, it typically rises in about 3-4 hours. Once you’ve baked with it, you can return the sourdough starter to the fridge without needing to feed it again, as you have already fed it the night before.
You will develop your own feeding and baking schedule with time!
From now on, you will need to feed your sourdough starter regularly. My typical feeding consists of 50 grams of sourdough starter, 100 grams of water, and 100 grams of flour. This mixture results in a total of 250 grams of active starter. When I bake sourdough bread, I usually require 200 grams of leavened starter, which leaves me with 50 grams of starter. I will then feed this remaining starter to continue growing it. If I know I want to make sourdough pancakes, bagels, or pizza, I will adjust the feeding to include more flour and water than usual. I maintain my sourdough starter at a ratio of 1:2:2 (50 grams of starter, 100 grams of water, and 100 grams of flour).
If you want to know more about ratios, you can read about it here.
What if I don’t have enough starter to flour and water ratio?
That’s okay! Sourdough is very forgiving. There have been times when I unintentionally didn’t make enough sourdough starter and ended up using too much. Once, I was left with only 20 grams of starter. All I did was mix that 20 grams with 115 grams of water and 115 grams of flour to get my usual 250 grams of starter. You can do this occasionally; in fact, “starving” your starter from time to time might actually be beneficial! This process can make the starter stronger. I do this once a month. However, what you do want to avoid is using all of your starter in a recipe and then being left with none to grow further.
How To Grow Sourdough starter
Ingredients
Equipment
Method
- DAY 1Add 50 grams of spring water and 50 of grams unbleached bread flour to a clean jar. Mix very well to ensure there are no pockets of dry flour. Loosely cover the jar with a lid and let it sit for 24 hours.You will need a jar with room for the starter to grow.
- DAY 2To prepare the sourdough starter, begin by transferring 50g of your existing starter into a clean jar. Next, add 100g of water and 100g of flour to the jar. Mix the ingredients thoroughly. Then, loosely cover the jar with a lid and let it ferment for 24 hours. This process allows the yeast and bacteria to develop in the new flour and water mixture. You may notice a yellow liquid forming on top or at the bottom of the jar; this is normal and should not be drained. Just leave it as is.THE OTHER 50G GRAMS OF STARTER YOU WILL DISCARD IT. YOU CAN COMPOST IT, FEED IT TO YOUR CHICKENS, BUT DO NOT PUT IT DOWN YOUR DRAIN, IT MIGHT CLOG YOUR PIPES.
- DAY 3Mix the starter, then take 50g into a clean jar. To it, add 100g water and 100g flour. Mix very well, then loosely close with a lid and let it ferment for 24 hours.Discard the rest of the starter. This is called “sourdough discard"What is the reason for discarding half the mixture?If you add 100g of flour and 100g of water every day without discarding, by day 7, your jar will be overflowing with starter. Also, for the starter to get stronger, it needs the correct ratio of starter to fresh flour and water: 1:2:2. Sourdough starter feeds on the fresh flour and water you add daily. Basically, you would end up with a lot of extra starter by the end of the process, and none of it would mature.
- DAY 4Mix the starter then measure out 50g into a clean jar. Add 100g of water and 100g of flour to the jar, and mix everything together very well. Loosely cover the jar with a lid. Use a rubber band to mark the level of the starter right after feeding it, so you can monitor its growth. The sourdough starter should rise by 20% to 35%.
- DAY 5Repeat the same process as days 2-4
- DAY 6If your starter hasn’t doubled in size yet, don’t worry! You’re not doing anything wrong. Sometimes, it just needs a little extra time, and that’s completely normal. During one of your feedings, try adding one tablespoon of whole wheat flour; this will give it an extra boost! Continue feeding it every 24 hours until it doubles in size. Once it has doubled, you can proceed to the Day 6 instructions.Feed and discard every 12 hours.For example, at 8 a.m w do your regular discard and feed, then wait for it to double then at 8 p.m. discard and feed. The sourdough starter should double in size after each feeding.Your sourdough should now be stabilizing, doubling or tripling in size after a feeding.
- DAY 7Feed every 12 hours. ( you still need to discard and feed as you have been doing)By day 7 your sourdough should have plenty of beneficial bacteria present that makes a sourdough bread rise! Your starter should be very active and bubbly. when you look closely you can almost see it “breath”Your sourdough starter is mature and ready to bake with in just a few days! I would love to ensure it is healthy enough to rise a loaf. Repeat day 7 for 2-3 more days, and then you can start putting it in the fridge.After today, you no longer need to discard half every day. You can go back to feeding it once a day or if you keep it in the fridge, you can feed it every 3-7 days.
- We did it! we grew our very own sourdough starter from scratch! This was a fun journey. Its so mesmerizing to me that water and flour can make this! Just look how beautiful she is! it took you a week to grow her. This is your baby, don’t forget to feed it. The more often you feed your sourdough starter the stronger it will become. I feed mine every 3-4 days and i keep it in the firdge in between feedings.
Notes
WHAT IS THE REASON TO DISCARD HALF THE MIXTURE?
Every day if you add 100g of flour and 100g of water, by day 7 your jar will be overflowing with starter. Also- for the starter to get stronger it needs the correct ratio of starter to fresh flour and water. 1:2:2. Sourdough starter feeds on the fresh flour and water you add daily. Basically, you would end up with a lot of extra starter by the end of the process, and none of it mature.TIP’S
Don’t tighten the lid to tightly, you just want the lid to sit on top to make sure the mixture doesn’t get dry. But you also want air to circulate through it. It’s important for the starter to “breath” Try to keep your house consistent in temperature, and the warmer the better. Sourdough starter does very well in a warm environment. The cold slows down the fermentation and might make this process to slow down. Be patient, I promise that it will take hold if you trust the process. My house is set to 65, and my starter does great! If you live in a cold environment. A little trick is to place your jar with your starter into an oven that’s NOT turned on, leave the oven light on. that will make it much warmer in there. (should be around 70 degrees) Pick morning OR night to feed your starter. For example I feed mine every morning at 8am,Loved this recipe? leave a comment below and give this post a rating.


Reader Interactions