
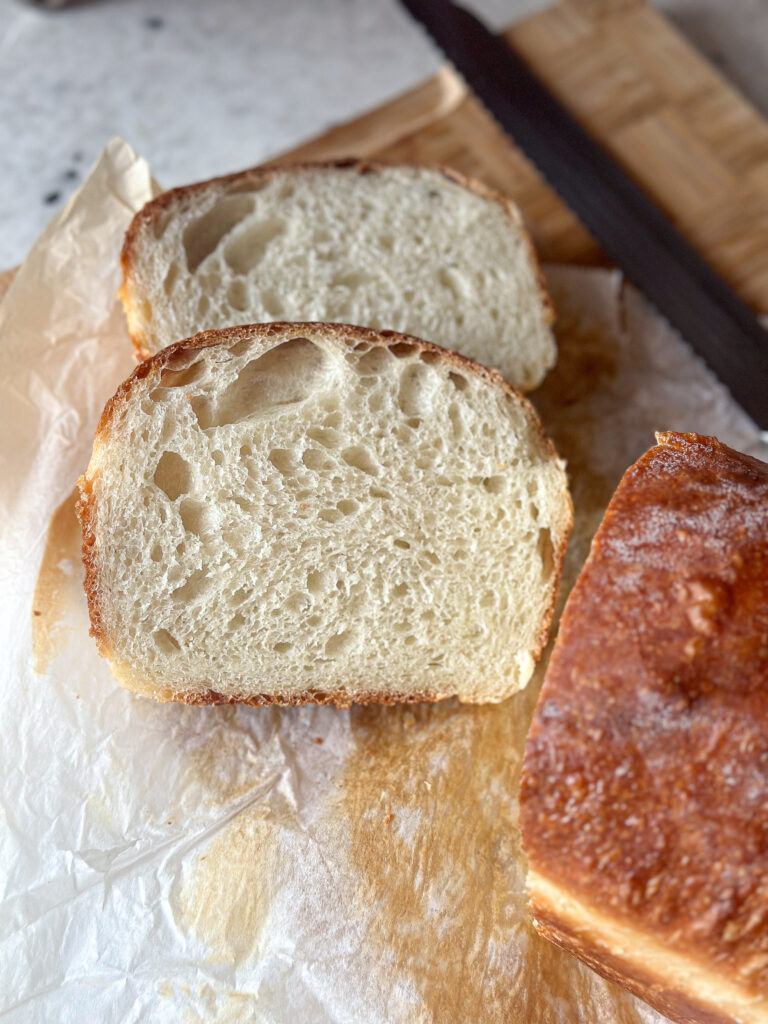
Same-day sourdough sandwich bread is made with honey, olive oil, flour, water, and a bubbly sourdough starter. Learn how to make the softest sandwich bread in just a few easy steps!
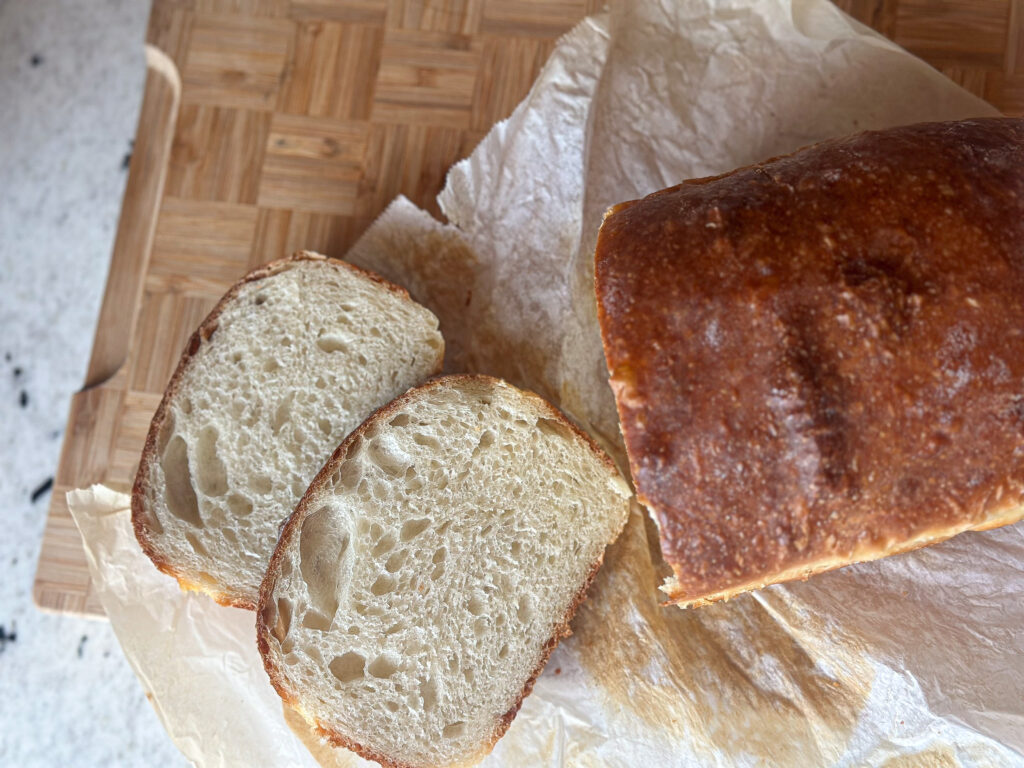
This Easy same-day sourdough Sandwich Bread recipe is the easiest homemade bread recipe. It’s hearty and tender and turns out perfectly with the best golden crust every time!
NEVER MISS A POST! FOLLOW ME ON:
FACEBOOK | INSTAGRAM | TIKTOK |
This same-day sourdough Sandwich Bread is my favorite stand-by homemade sandwich bread recipe for school lunches, and I know you’ll love it! It fits perfectly into a busy mom’s schedule! And if you are anything like me who forgets to buy bread or keep up with my baking schedule, this recipe has saved me so many times! Especially when Sunday rolls around, I realize I have no sandwich bread for Monday morning to pack school lunches!
More Sourdough Bread Recipes To Try!
I’ve been making homemade bread for about three years, and this same-day sourdough Sandwich Bread recipe has quickly become one I make repeatedly. My kids say they like it more than my classic Sourdough loaves! Shocker! I know! But the soft crumb on this bread is perfect for small children to chew on. It’s a simple combination of water, sourdough starter, olive oil, and honey, mixed with bread flour and salt, made into basic loaves, and baked to crispy crust perfection!
AS AN AMAZON ASSOCIATE, THIS POST MAY CONTAIN AFFILIATE LINKS. THIS WILL NOT CHANGE YOUR PRICE, BUT WE WILL SHARE A SMALL COMMISSION WITH OUR FAMILY.
Ingredients
- 325g warm water ( room temperature)
- 100g leavened sourdough
- 500g unbleached King Arthur bread flour – you can also use all-purpose flour
- 10g salt
- 40g honey- or sugar
- 20g olive oil
Tools you will need
- large bowl- I use this Mason Cash bowl
- bread pan
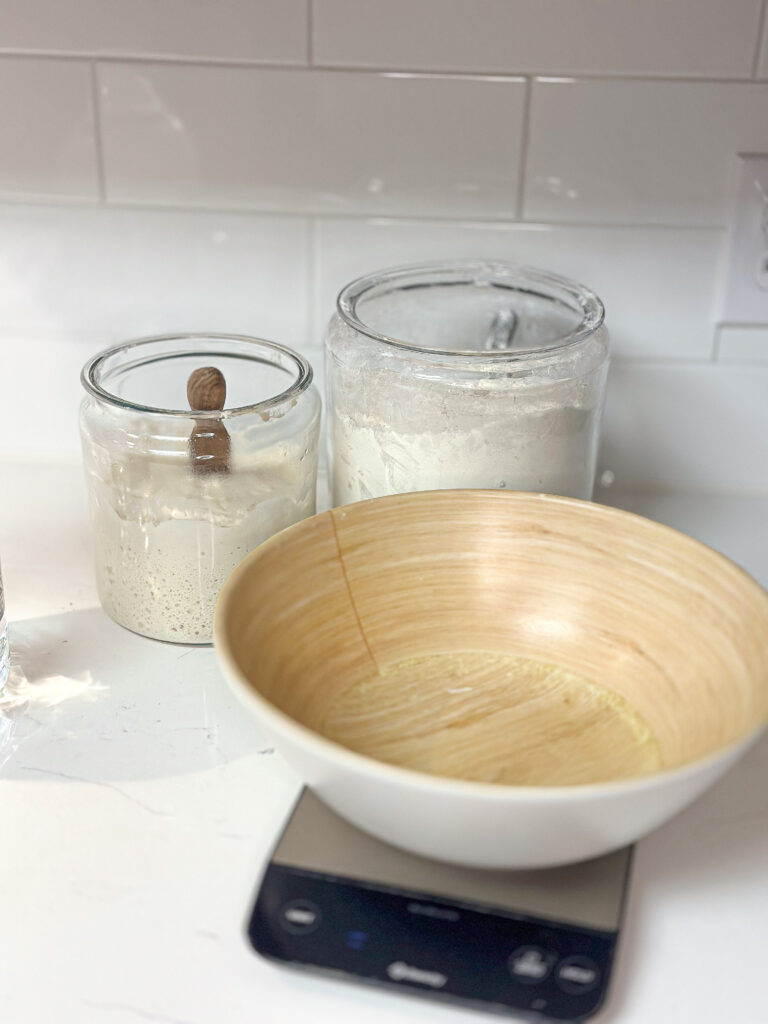
- food scale– There is one tool that, in my opinion, is necessary: a food weight scale. When it comes to baking sourdough bread, precision is key! There’s no better way to measure accuracy than using a digital food scale.
- reusable shower cap or plastic wrap
What is sourdough?
To better understand what sourdough is, let’s talk about yeast. Yeast is a fungus, and it’s all around us. It floats through the air, it’s living in our bodies, and it’s in most of the food we eat. Traditionally, bread is made in two forms: commercially made yeast or with a sourdough starter. You are most likely familiar with commercially produced yeast, which is sold dry. It’s cultivated in a lab to work fast to leaven (rise) our bread specifically.
Is sourdough healthier than yeast?
Now that we understand yeast, let’s dive into sourdough and why it is healthier than yeast. The sourdough starter consists of flour, water, and organisms. Sourdough bread is made by fermentation and is naturally leavened, which means it doesn’t use commercial yeast to rise. Instead, it uses a ‘starter’ – a fermented flour and water mixture that contains wild yeast and good bacteria—to rise.
This produces a tangy flavor, slightly chewy texture, and soft crust in sourdough. Wild yeast has more flavor than commercial yeast. Sourdough is natural in the sense that it doesn’t contain any additives, and it also helps to break down the anti-nutrients for better absorption.
Benefits of sourdough bread
Since sourdough bread is processed through fermentation, it also has probiotics. As a result, it becomes more digestible and provides fiber, which benefits the body by improving digestion and promoting a healthy gut.
This recipe is based on you having an active starter that you have fed a few hours before starting your bake.
Pin this recipe for later!

How to make same-day sourdough sandwich bread
Place the mixing bowl on the food scale, then add filtered warm water, olive oil, honey, and the active sourdough starter. Remove the bowl from the scale, then use a bread whisk to mix it all until the honey and the starter have dissolved.
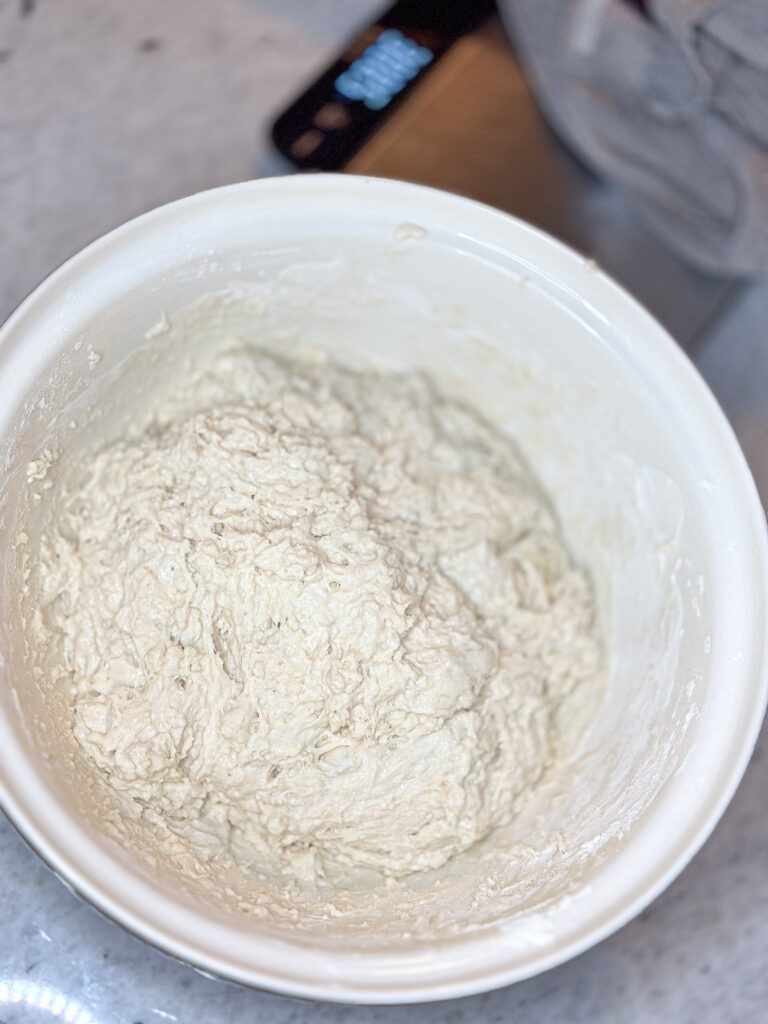
Place the bowl back on the scale, zero out the scale, and add 500 grams of unbleached flour and 10 grams of salt. Remove the bowl from the scale and mix the dough with your hand to form a shaggy dough. Make sure to scrape the sides of the bowl as you mix the dough. Cover the bowl with saran wrap ( I use these reusable shower caps I get from Amazon). Let the dough sit in a warm place for one hour to autolyse.
I recommend keeping a cup with water next to the bowl; dip your fingers in it to get them wet, keeping the sourdough from sticking to your hands while you stretch and fold.
Now, you will stretch and fold the sourdough. Gluten relaxes over time, so this step will help build up the gluten and give it strength and shape, resulting in a beautiful rise when baking.
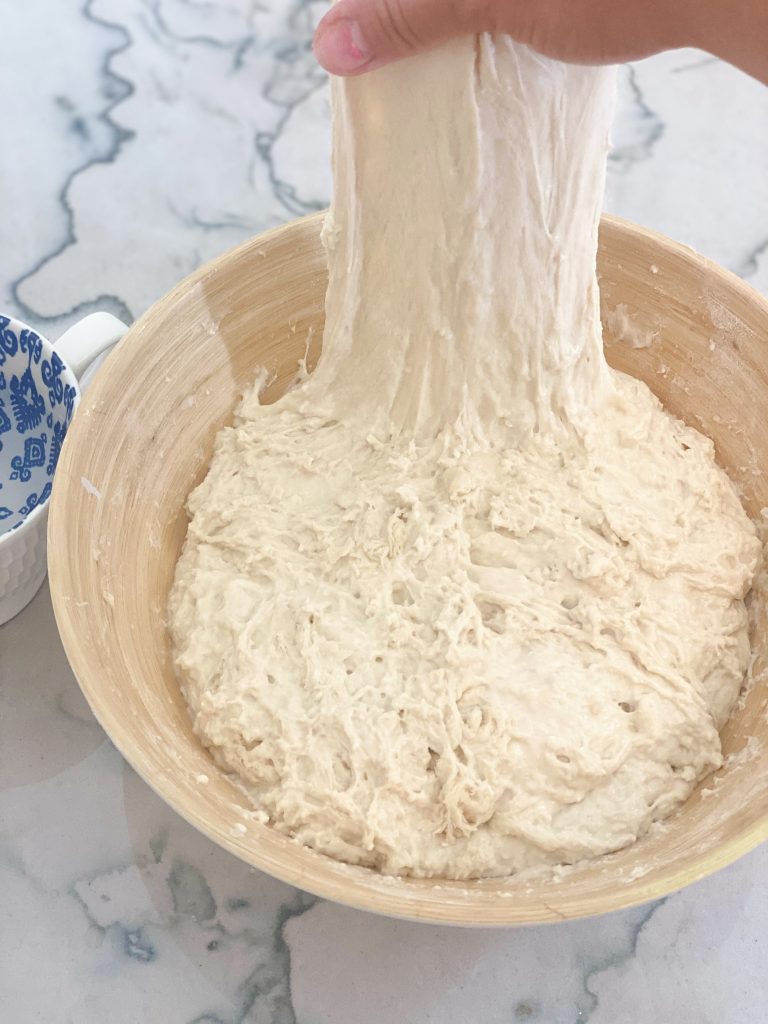
Place your hands under the sourdough, and with both hands, stretch it up as far as you can. Be gentle not to rip the dough, then fold it over to the middle of the bowl. Repeat this process on all sides. Once you have stretched and folded all sides of the sourdough, cover it with the lid and let it rest for 45 minutes. Do this process 3 times.
Cover the bowl and let it bulk rise (first rise) for 3-4 hours in a warm area. (Turn on your oven to 90 degrees. If you have the “proof” setting, use that. Sourdough loves heat, and this will make it rise quicker!) The dough should have almost doubled in size and be very bubbly. The bulk fermentation time may vary from home to home; it all depends on how cold or warm you keep your home. Thou dough should almost double in size.
Gently take out the sourdough on a clean countertop. ( You can dust a little bit of flour on the countertop if the dough is too sticky) Flip the bowl over the countertop and let gravity pull the dough out on the countertop. Cover the dough with a tea towel and rest for 10 minutes. This step will ensure that your dough relaxes, then it will be easier to stretch it for the next step. Take your dough, and stretch the sourdough out on a clean countertop with your hands to create a rectangle, like you do for a cinnamon roll. You will NOT need to wet your hands for this step. If the sourdough is too sticky to work with, use your bench scraper to help.
Begin by folding one side of the sourdough to the center, followed by the opposite side. Once the two sides are folded, you will have a long rectangle.

Next, roll the rectangle up to have one small roll. Gently start shaping it by putting both hands on one side and pushing towards you so the dough forms tension; rotate the roll to the opposite side and do the same. Pinch both ends of the roll closed. Now you can add any toppings to the bread by rolling the top side of the dough in oats, seeds, or other toppings you desire.
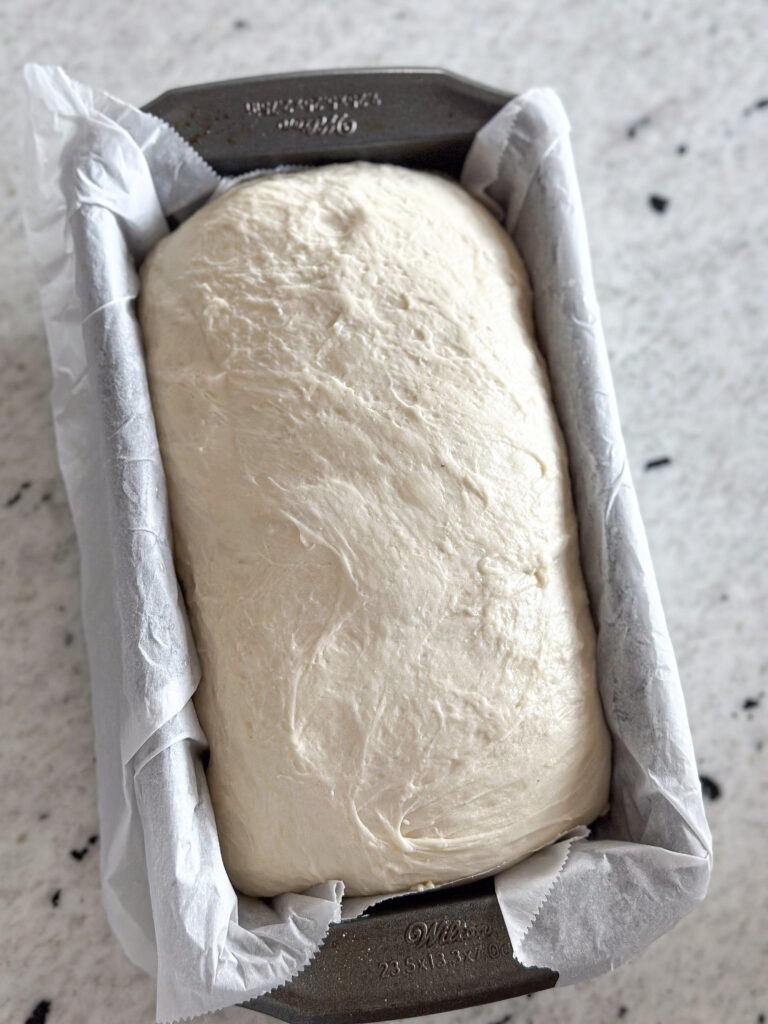
Oil a bread pan or place a piece of parchment paper ( to easily remove it after baking) in the pan. Place the dough into the pan. ( if you rolled your bread in a topping, place that side facing up in the bread pan ) If your bread looks uneven on top, don’t worry. Once you drop it into the bread pan, use your fingers to tuck the dough down at the sides. You want a smooth top on the dough in the pan so it rises uniformly.
Finally, wrap the tin in food-safe plastic bags to continue proofing in a warm area for the final proof for one hour (second rise) or until the dough reaches the top of the pan. You can also do a slow fermentation overnight in the fridge if desired. Keep the dough covered in the fridge to prevent a thick crust from forming, which inhibits optimal rise.
Preheat the oven to 375 and bake uncovered for 35-40 minutes or until the internal temperature reaches 205F and the top of the dough is golden brown. ( If you did a slow fermentation in the fridge, the next day bake the loaf cold)

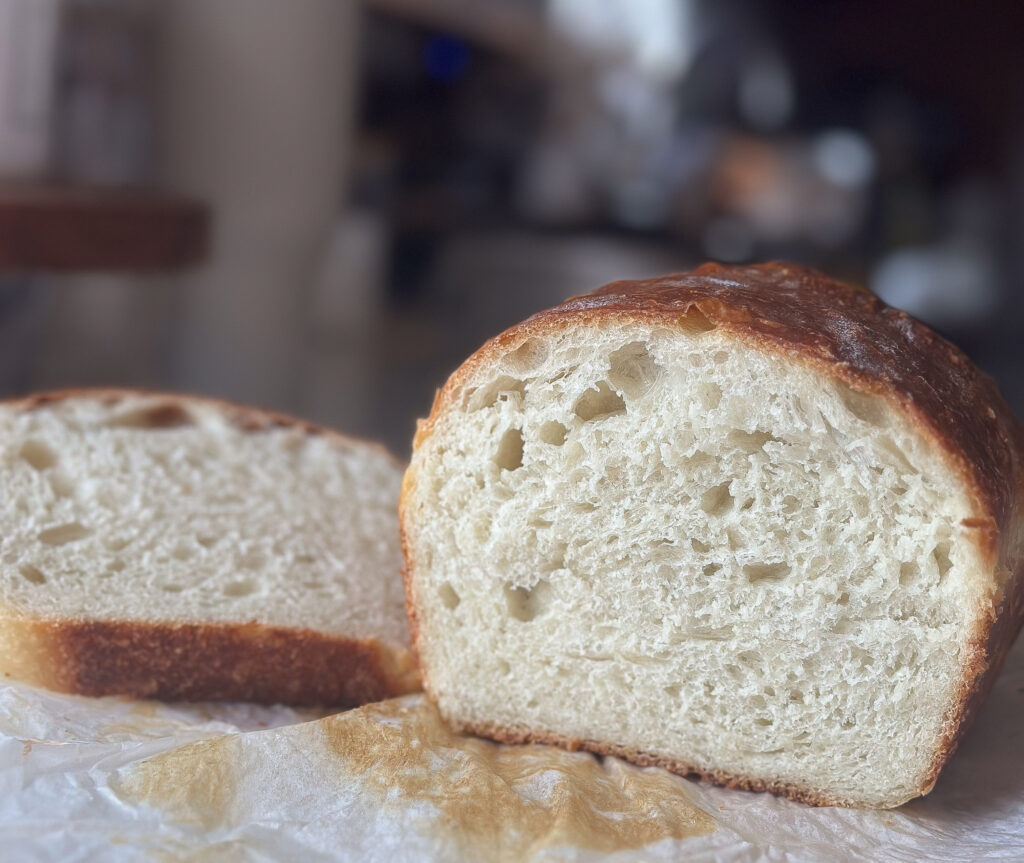
Take the same-day sourdough sandwich bread out of the oven using oven mitts. On top of the loaf, spread butter while it is still hot. This will help to soften the top of the same-day sourdough sandwich loaf. Plus, the butter makes it taste so delicious and buttery! Take the loaf from the bread pan, place it on a cooling rack, and let it cool off before slicing. I know it might be tempting to wait, but I promise it will be worth the wait, and it is necessary to get the best results! Cutting it while it is hot will make the dough gummy instead of having a fluffy sourdough sandwich bread.
I hope you enjoy this easy recipe for same-day sourdough sandwich bread! You will never look at store-bought bread. This soft sourdough sandwich bread not only makes good sandwiches but also makes a mean French toast. Top it off with fresh berries and maple syrup, and you will have a delectable breakfast!

same-day sourdough sandwich bread
Ingredients
Equipment
Method
- Place the mixing bowl on the food scale, then add filtered warm water, olive oil, honey, and the active sourdough starter. Remove the bowl from the scale, then use a bread whisk to mix it all until the honey and the starter have dissolved. Place the bowl back on the scale, zero out the scale, and add 500 grams of unbleached flour and 10 grams of salt. Remove the bowl from the scale and mix the dough with your hand to form a shaggy dough. Make sure to scrape the sides of the bowl as you mix the dough. Cover the bowl with saran wrap ( I use these reusable shower caps I get from Amazon). Let the dough sit in a warm place for one hour to autolyse.
- With wet hands, you will stretch and fold the sourdough. Gluten relaxes over time, so this step will help build up the gluten and give it strength and shape, resulting in a beautiful rise when baking.Place your hands under the sourdough, and with both hands, stretch it up as far as you can. Be gentle not to rip the dough, then fold it over to the middle of the bowl. Repeat this process on all sides. Once you have stretched and folded all sides of the sourdough, cover it with the lid and let it rest for 45 minutes. Do this process 3 times.
- Cover the bowl and let it bulk rise (first rise) for 3-4 hours in a warm area. (Turn on your oven to 90 degrees. If you have the “proof” setting, use that. Sourdough loves heat, and this will make it rise quicker!) The dough should have almost doubled in size and be very bubbly. The bulk fermentation time may vary from home to home; it all depends on how cold or warm you keep your home. Thou dough should almost double in size.
- Gently take out the sourdough on a clean countertop ( You can dust a little bit of flour on the countertop if the dough is too sticky). Flip the bowl over the countertop and let gravity pull the dough out on the countertop. Cover the dough with a tea towel and rest for 10 minutes. This step will ensure that your dough relaxes, then it will be easier to stretch it for the next step. Take your dough, and stretch the sourdough out on a clean countertop with your hands to create a rectangle, like you do for a cinnamon roll. You will NOT need to wet your hands for this step. If the sourdough is too sticky to work with, use your bench scraper to help.
- Begin by folding one side of the sourdough to the center, followed by the opposite side. Once the two sides are folded, it will be shaped into a long rectagle. Next, roll the rectangle up to have one small roll. Gently start shaping it by putting both hands on one side and pushing towards you so the dough forms tension; rotate the roll to the opposite side and do the same. Pinch both ends of the roll closed. Now you can add any toppings to the bread by rolling the top side of the dough in oats, seeds, or other toppings you desire. You can add any toppings to the bread by rolling one side of the dough in oats, seeds, or other toppings you desire.
- Oil a bread pan or place a piece of parchment paper ( to easily remove it after baking) in the pan. Place the dough into the pan. ( if you rolled your bread in a topping, place that side facing up in the bread pan ) If your bread looks uneven on top, don’t worry. Once you drop it into the bread pan, use your fingers to tuck the dough down at the sides. You want a smooth top on the dough in the pan so it rises uniformly.Finally, wrap the tin in food-safe plastic bags to continue proofing in a warm area for the final proof for one hour (second rise) or until the dough reaches the top of the pan. You can also do a slow fermentation overnight in the fridge if desired. Keep the dough covered in the fridge to prevent a thick crust from forming, which inhibits optimal rise.
- Preheat the oven to 375 and bake uncovered for 35-40 minutes or until the internal temperature reaches 205F and the top of the dough is golden brown. ( If you did a slow fermentation in the fridge, the next day bake the loaf cold)Take the same-day sourdough sandwich bread out of the oven using oven mitts. On top of the loaf, spread butter while it is still hot. This will help to soften the top of the same-day sourdough sandwich loaf. Plus, the butter makes it taste so delicious and buttery! Take the loaf from the bread pan, place it on a cooling rack, and let it cool off before slicing.


Reader Interactions